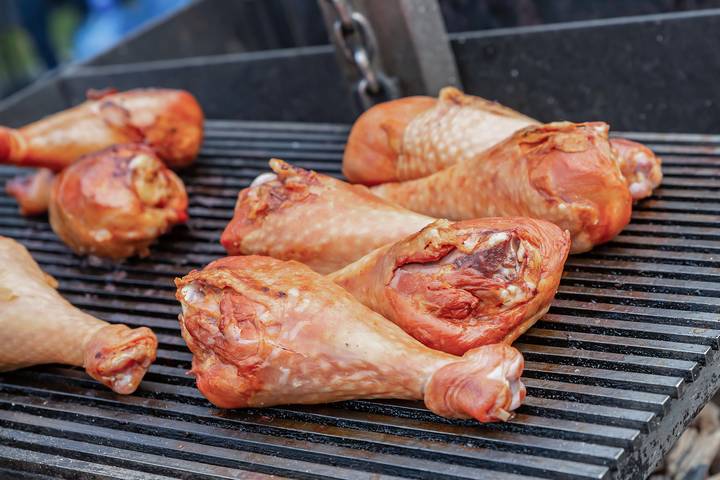
Pulling out the grill for a cooking session will always be fun, no matter what time of the year. There are so many ways to experiment with your grill, each time being fantastic. Moreover, the grill you use for cooking could result in unique meals every session.
Many may not know of this, but grilling a turkey on a gas grill may be an ideal way to go about your next experiment. However, it is important to know about the proper gas grill protocols before you proceed with cooking. If you take the right steps, you will create a meal out of your dreams.
Use these tips on how to cook a turkey on a gas grill:
Tip #1: Know the grills
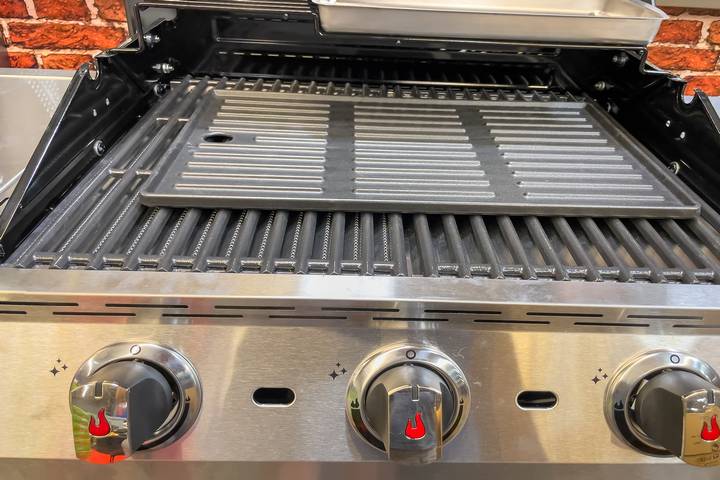
It is key to understand how your gas grills stand before operating it. Many grills, especially gas grills, come in different configurations. As a result, you will have to know the ins and outs of its functionality well before cooking the bird inside of it. For example, what fuel source does this grill run on?
Sometimes, users may connect a line from the grill to their home to transfer fuel to the machine. Other gas grills may run on a mobile fuel canister, which allows the grill to move around effortlessly. Consider these considerations to get your first gas grill off the market.
Tip #2: Resources
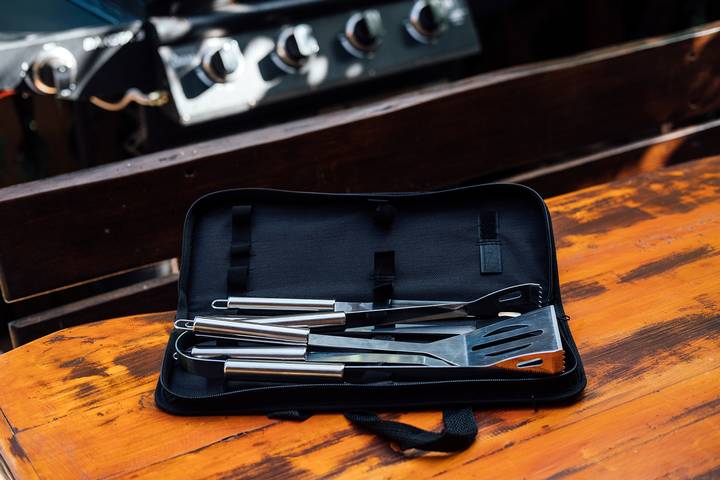
Any grilling session you have will have the right supplies and equipment. So, take stock of what you have and what you will end up needing. Cooking utensils, such as tongs, spoons, and bowls, will generally be needed for each cookout. Then, you will also need gloves, so you do not burn yourself on the grill.
Secondary supplies may also be warranted to get the best out of your grilling. These could range, from spices used on the turkey, to other ingredients for your meals. Make sure to obtain these, and set them aside when needed. As the adage goes, if you fail to plan, you plan to fail!
Tip #3: Prepare the Grill
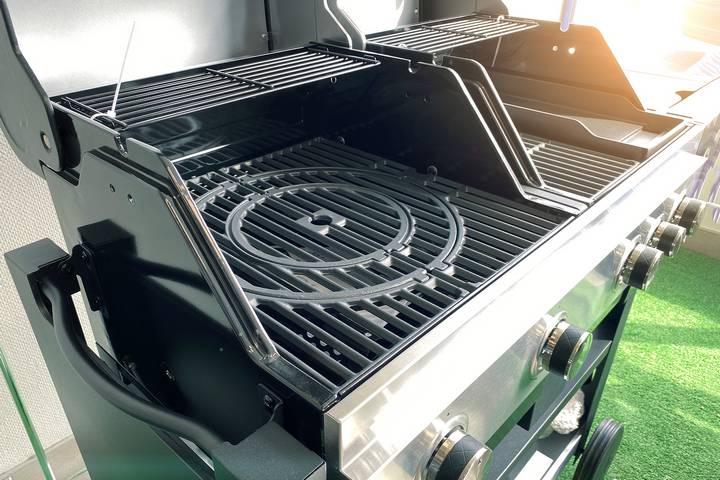
The initial setup of the gas grill will involve a bit of handiwork, but it is not too difficult. Make sure to open the grill up and inspect all compartments. They should all be in good working order; review the vents and the grates. After everything is a go, you should then preheat the gas grill.
Place them onto the cooking grate for those who plan on using charcoal. This allows everything to come into place, so you do not overlook key areas later. Once the gas grill is ready, you can focus on the most important aspects. The turkey will need special attention after setting things up!
Tip #4: Grill the Turkey
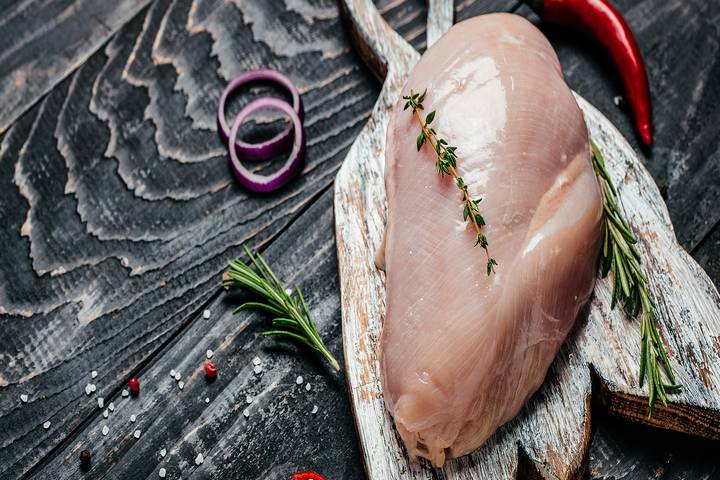
After thawing out the chosen turkey, remove the parts that are not needed for cooking. This can include parts such as the giblets or the neck. Drain all the juices out, and then brush the bird down with your chosen cooking or vegetable oil. You can also place spices on the turkey to give it added flavour.
Once satisfied with how it appears, place the turkey breast on the cooking grate over the drip pan. Then, you will have to cover the grill while leaving the vents open. Ensure you give enough time for the turkey to cook, and ensure that all sides are cooked. Otherwise, the bird will not be as great as it could be.
Tip #5: Check the Turkey
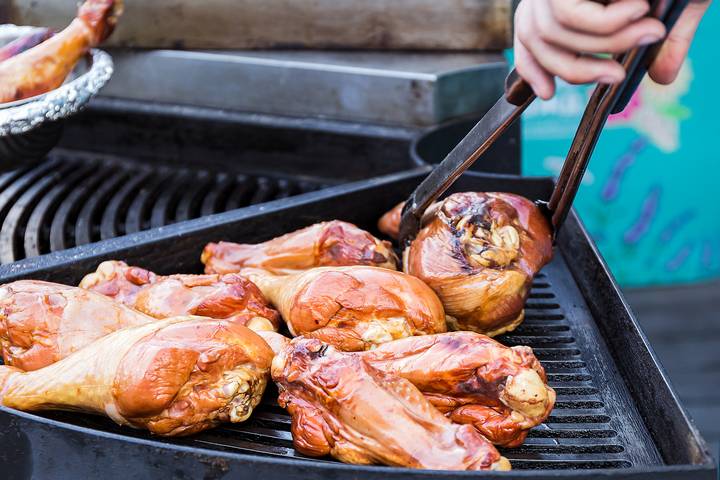
Now and again, you will have to check your grilled turkey’s status. It is a tough bird to cook, no matter what grill you use. The turkey must be grilled for at least a few hours to ensure it is cooked. Once you follow up every hour or so, you can continue to garnish the bird so that extra flavouring is added again.
Tip #6: Serve the Turkey
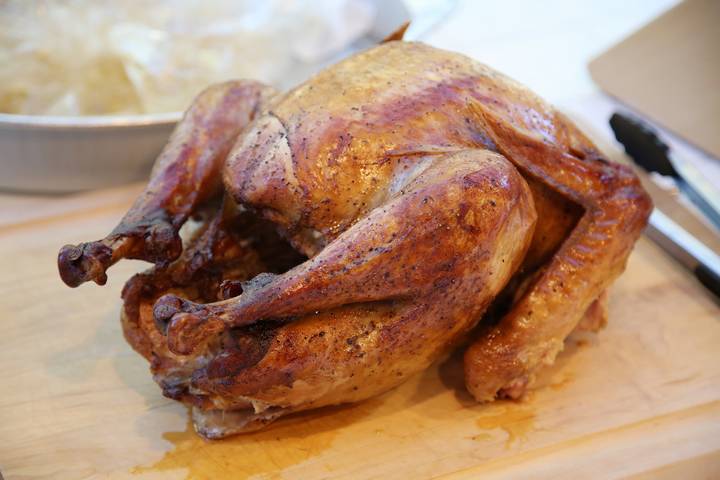
Before serving, you will have to ensure that you are satisfied with the result of your meal. Take a look at the status of your turkey after grilling it, and ensure it is cooked accordingly. Sometimes, gas grill operators may tend to cook the turkey more than they intended to.
Once everything is a go, you can serve your guests the meal. Grab those ingredients you purchased earlier, and pair them with the turkey meat you just cooked. From savoury ingredients to fresh vegetables, all of these make the turkey much more succulent!
